PB Motors East has been slamm'n over the past couple of days. Dad came through with an early B-Day present, THE BIKE LIFT!! Thanks Dad, I love you. Heat is installed and so is a shop light. The Carbs. came out of the bike on Sunday and got needles shimmed plus new main jets installed. The UGLY electrical wires are hidden in the handle bars on the right side, with half the job to go.
I have wanted to do this mod on my V-Star for years, and I am so happy that I finally got around to it. The idea is to drill holes in the bars to accept the wiring harness's from each hand grip control, then drill holes in the triple tree to get the wires to the frame. The right grip has 6 wires, and enough room inside the control housing to accept the wires from inside the bar. I drilled the hole into the bar's "front" face, angling in toward the frame of the bike. At the center of the handle bar, the wires have to pass out of the bar and through the triple tree. After removing the bar I marked and drilled two holes in the triple-tree, then replaced the bar to mark the corresponding holes. The wires will pass from the bar to the triple tree inside a new piece of chrome tubing. I cut the tubing off an old luggage trolley we no longer use.
---More Later

Left Side. Not done yet
Note: Way-Ugly wires that the factory runs in uglier grey vinyl tubes, then tie-wraps to the handle bars!

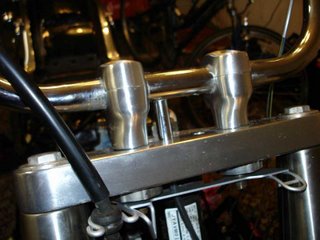
Hole drilled in triple-tree ready for left-side wires. Right-side wires run through a "test-fit" tube.

Hole drilled in bar ready to accept left-side wires.
Right-Side wires complete!
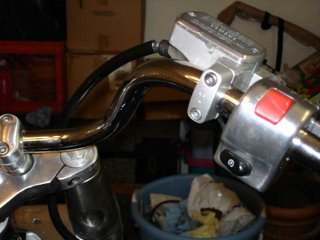
Right-side bar with wires hidden. WAY cleaner!

Carburetors removed.

Removing the notorious brass screws from the float-bowl cover. This turned out to be no big deal. I used a drill with an adjustable clutch and a #2 phillips bit. I turned the clutch down to 2 or 3 and let it chatter until the screws 'broke' loose. I wouldn't want to try it by hand.

Float bowl open ready to change the jet!

On the left is the stock main jet Size #90
On the right...#120! That's what I'm talk'n 'bout!
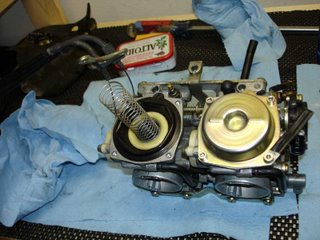
In this picture the rear carb has already had the needles shimmed. Note the new stainless steel socket-head cap screws, thanks to
Ziv for a GREAT product.

Stock needle shimmed with (2) #4 washers. Ready to reinstall.

Ready to open the front carb.

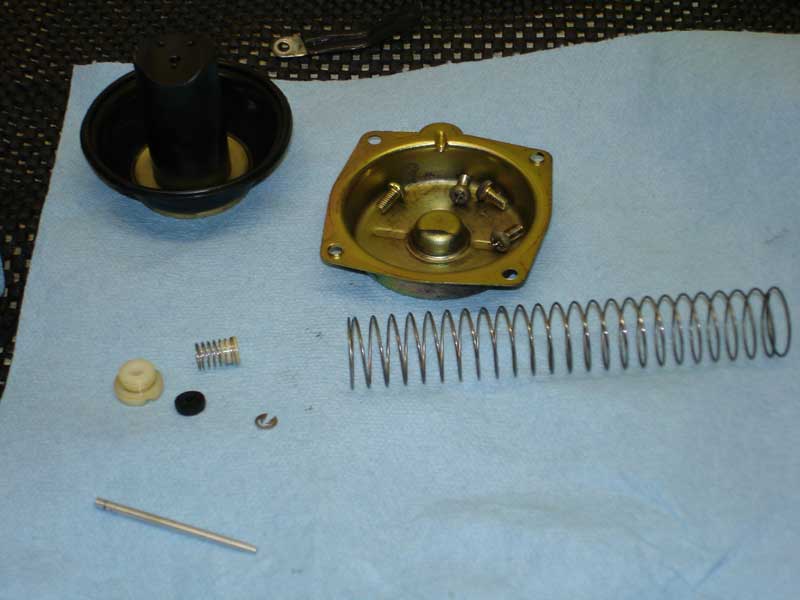
Removing Diaphragm, slide and needle assembly.

Looking through the slide-cylinder, at the jet opening in the side of the venturi tube.

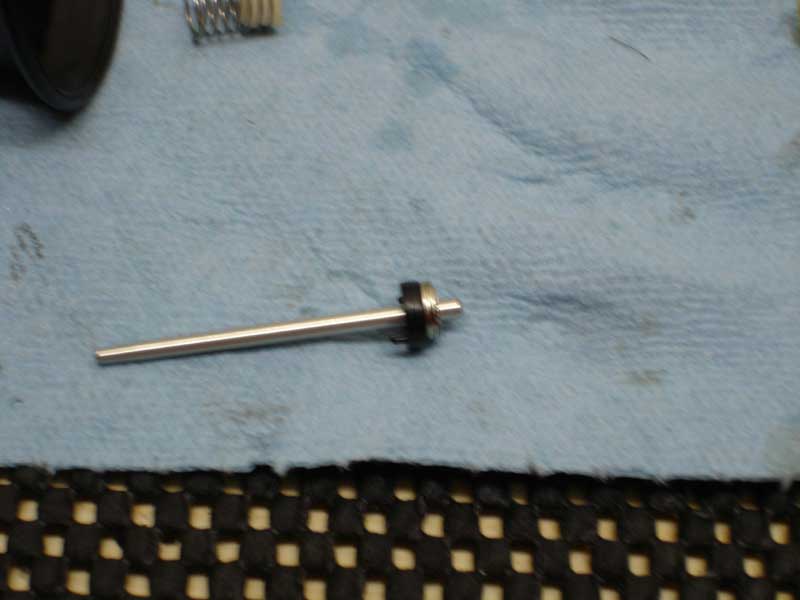
The Diaphragm, slide and needle parts after removal.
 Riley and his "best friend" T.J.
 "Tell me more T.J."
 I'm cute and I know it!
 You are the one they call papillon?

 Hole drilled in bar ready to accept left-side wires.
 Right-side bar with wires hidden. WAY cleaner!
 Carburetors removed.
 Float bowl open ready to change the jet!
 On the left is the stock main jet Size #90
 Stock needle shimmed with (2) #4 washers. Ready to reinstall.
 Ready to open the front carb.
 Removing Diaphragm, slide and needle assembly.
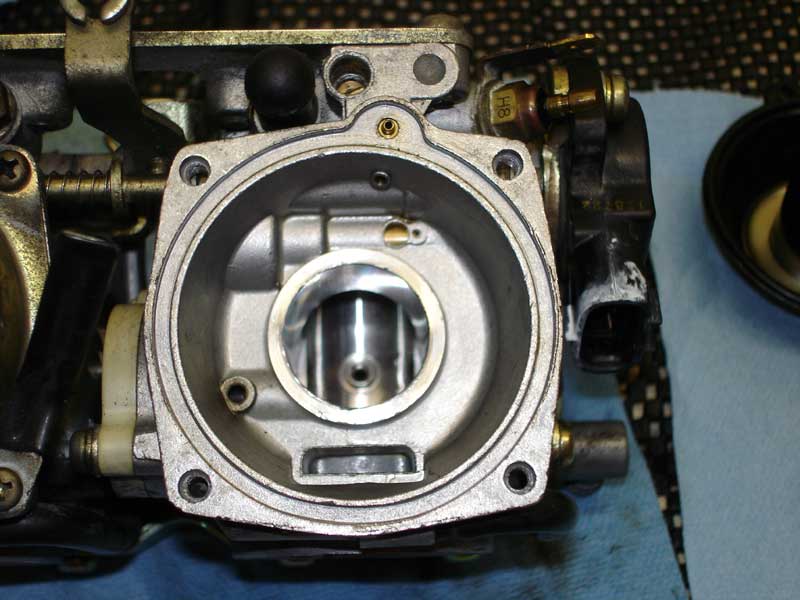 Looking through the slide-cylinder, at the jet opening in the side of the venturi tube.